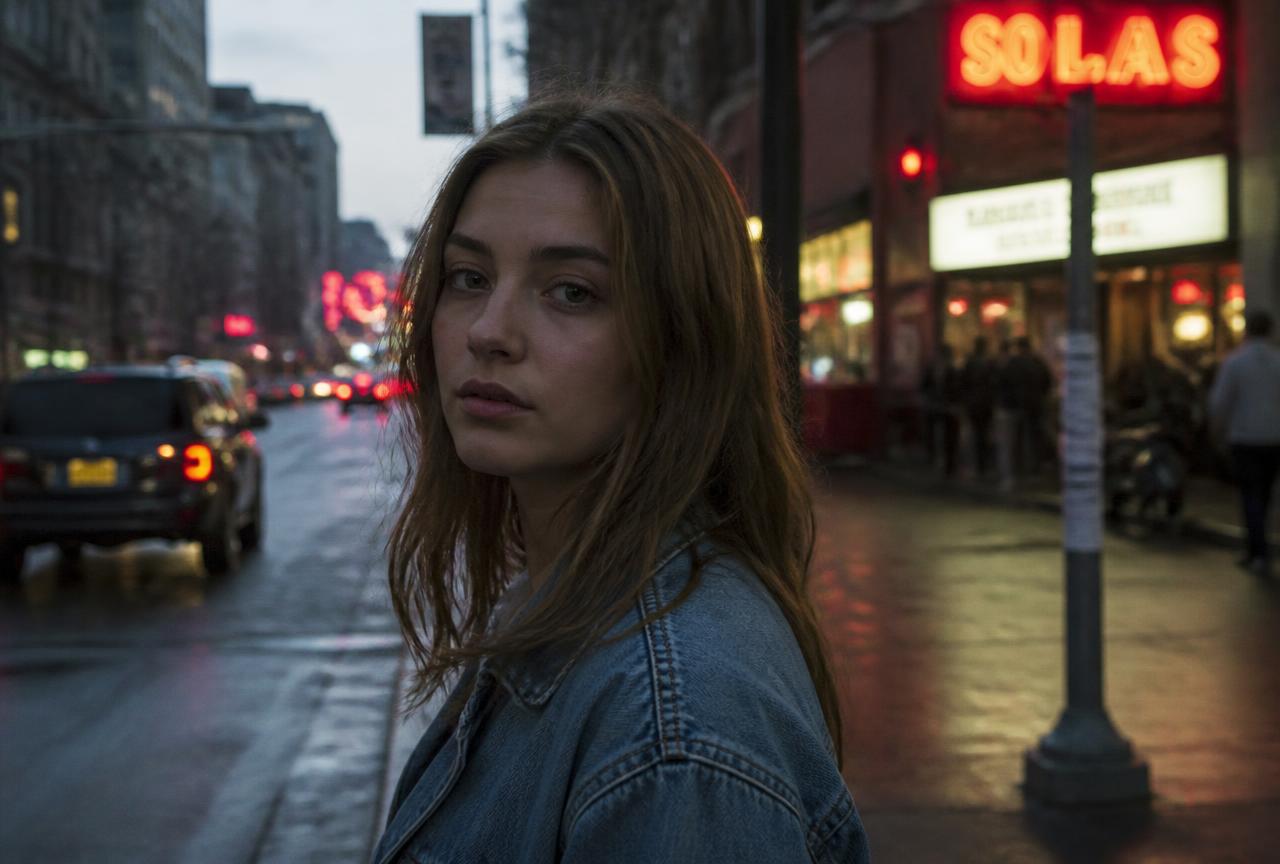
Editing presets
The most popular looks — cinematic, film, golden hour, black and white — with every slider value written out. Copy them by hand or download the preset file for Lightroom and Camera Raw.
 Demo image
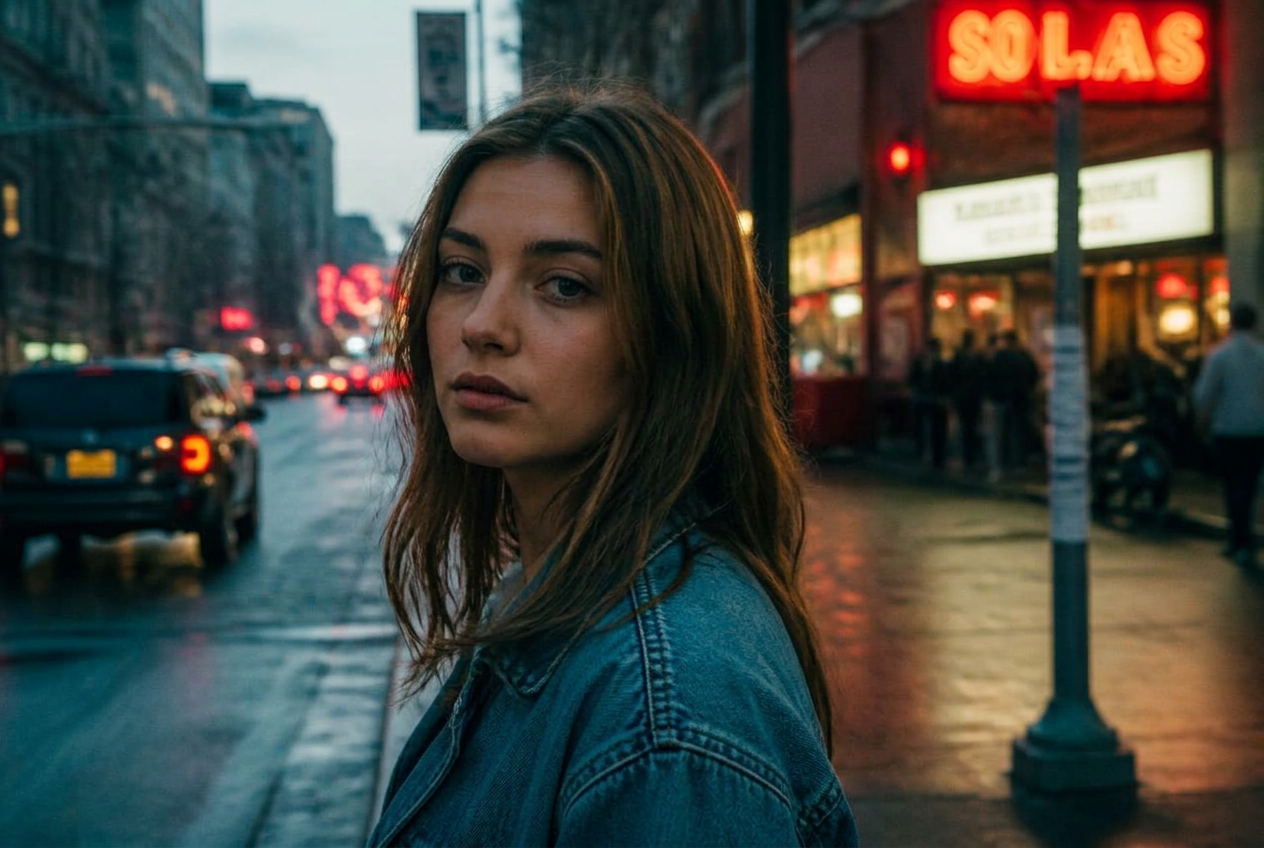
Cinematic
Teal shadows, warm skin
The film-still look: cool blue-green shadows, warm skin tones and slightly lifted blacks so nothing is pure black. Works best on photos with people in mixed city light.
 Demo image
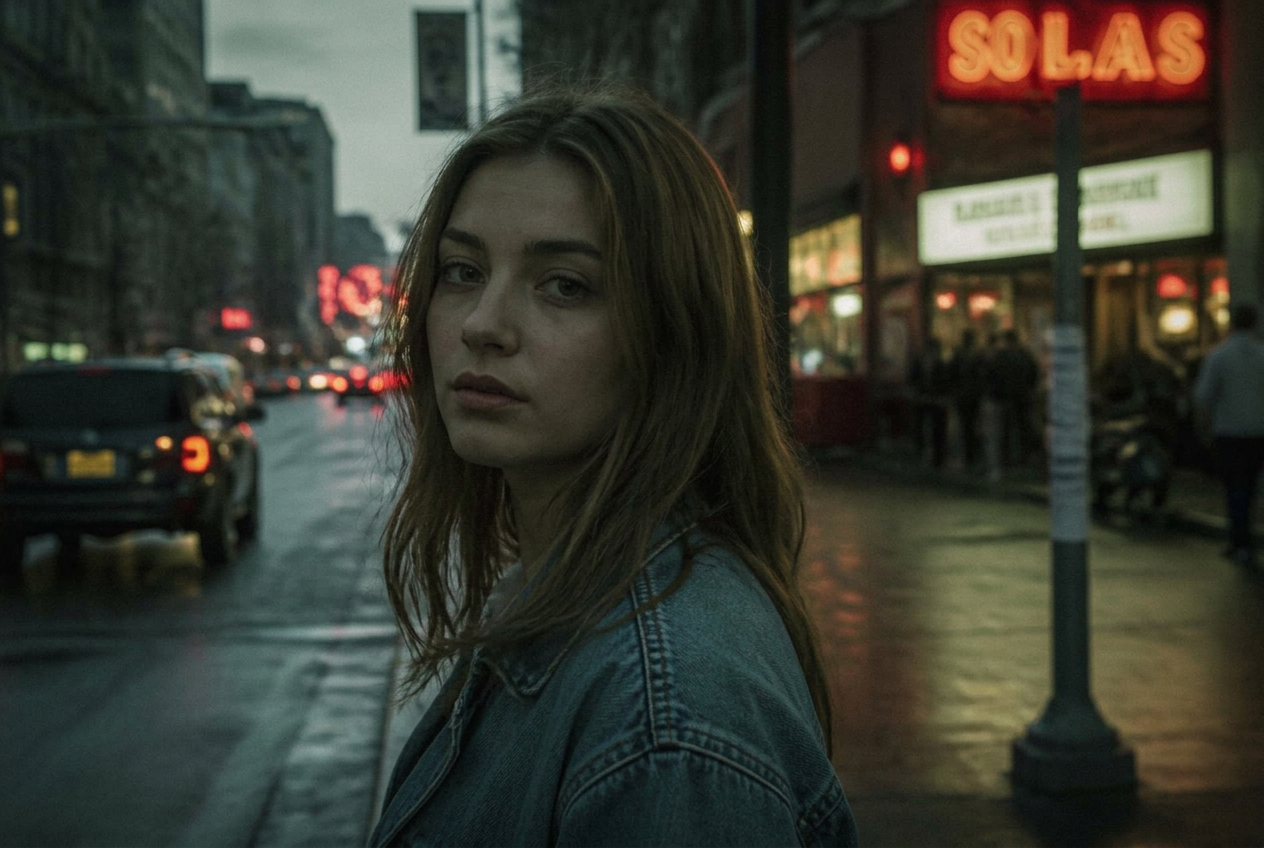
Moody film
Dark, muted, quiet
Deep shadows, muted green-grey colour and soft highlights. A heavier, more dramatic version of the cinematic look — good when the mood matters more than the detail.
 Demo image
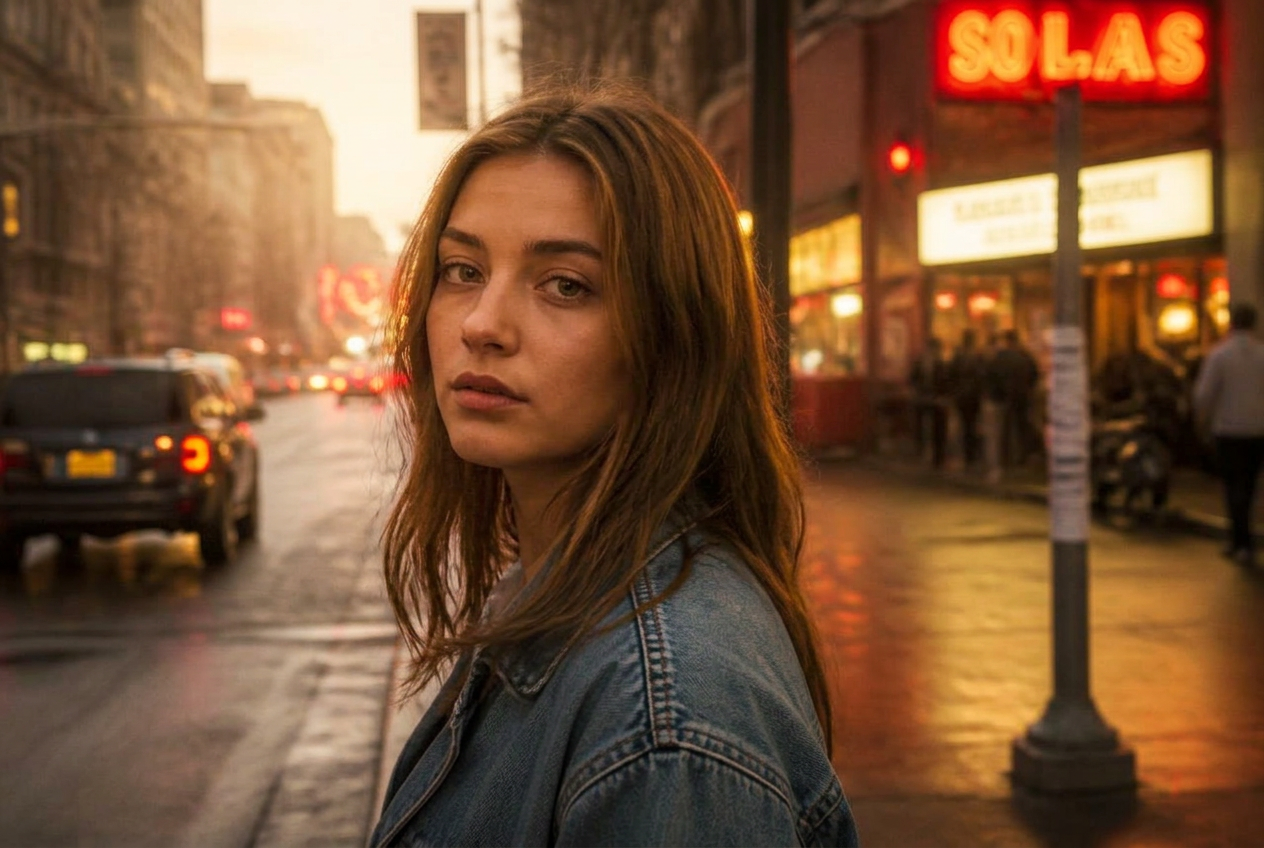
Golden hour
Warm sunset glow
Amber highlights, a soft glow and a warmer white balance. It makes late-afternoon light stronger — it cannot invent light that was not there.
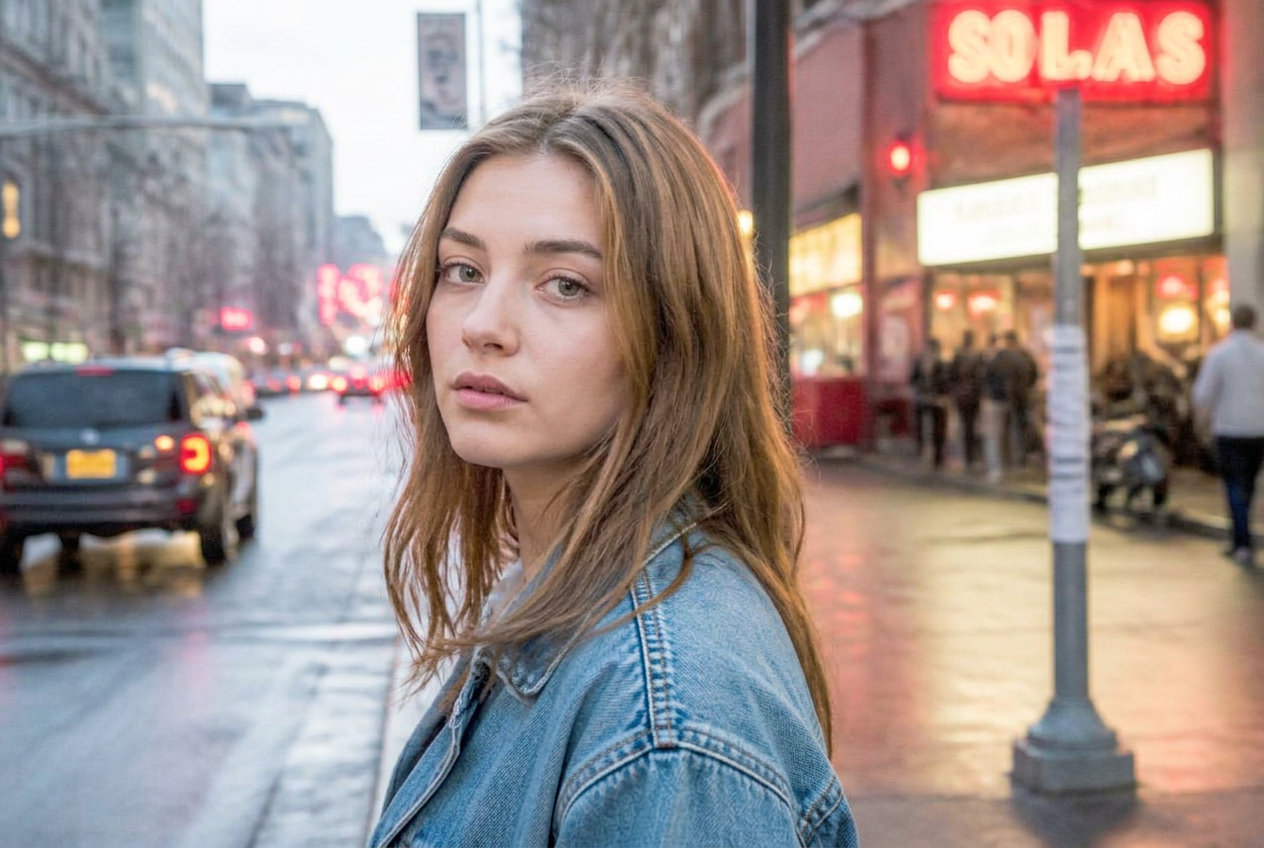 Demo image
Clean portrait
Bright, natural skin
A light, honest look: brighter exposure, neutral colour and open shadows. Nothing decorative — it just makes the photo look like the moment did.
 Demo image
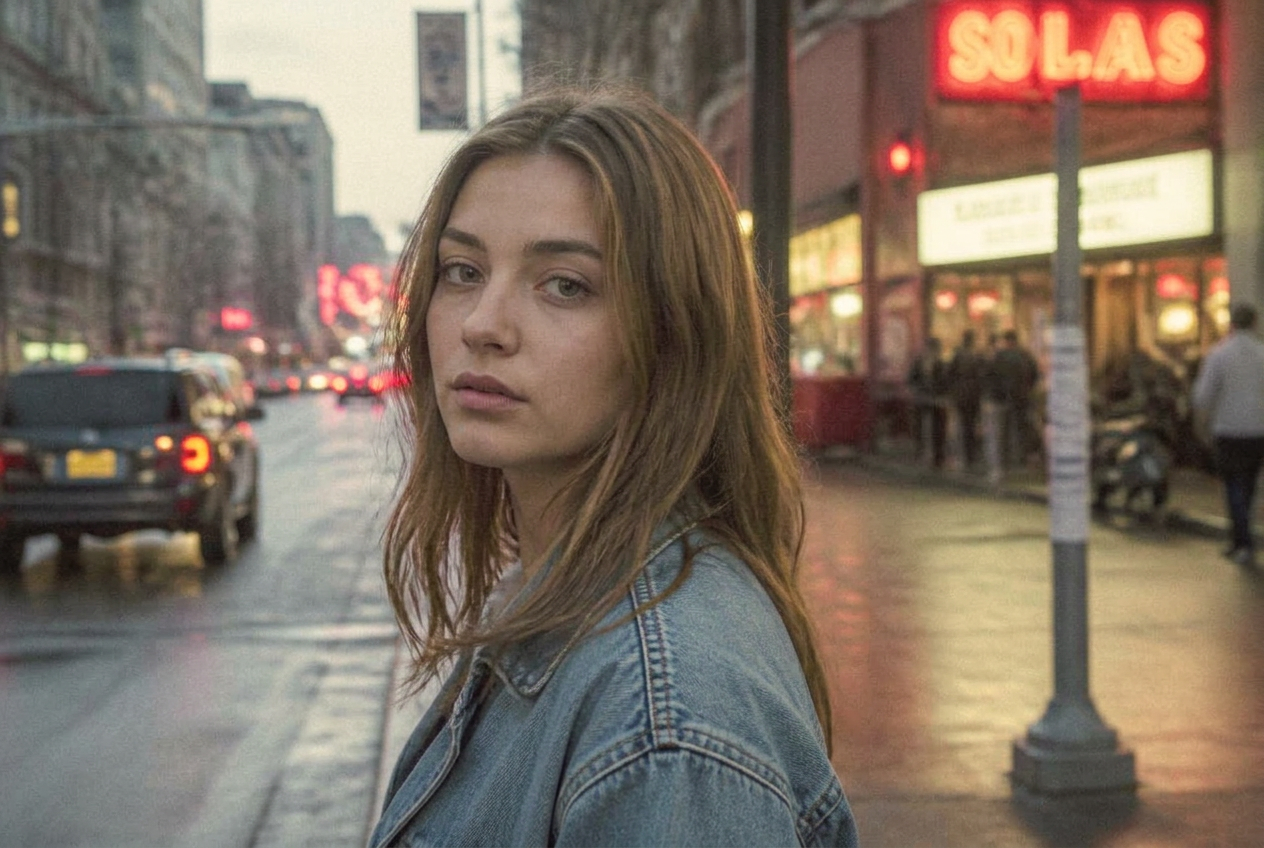
Vintage faded
Washed analogue photo
Matte blacks, pastel colour and a warm cast — a photo that looks like it was printed twenty years ago and left in the sun.
 Demo image
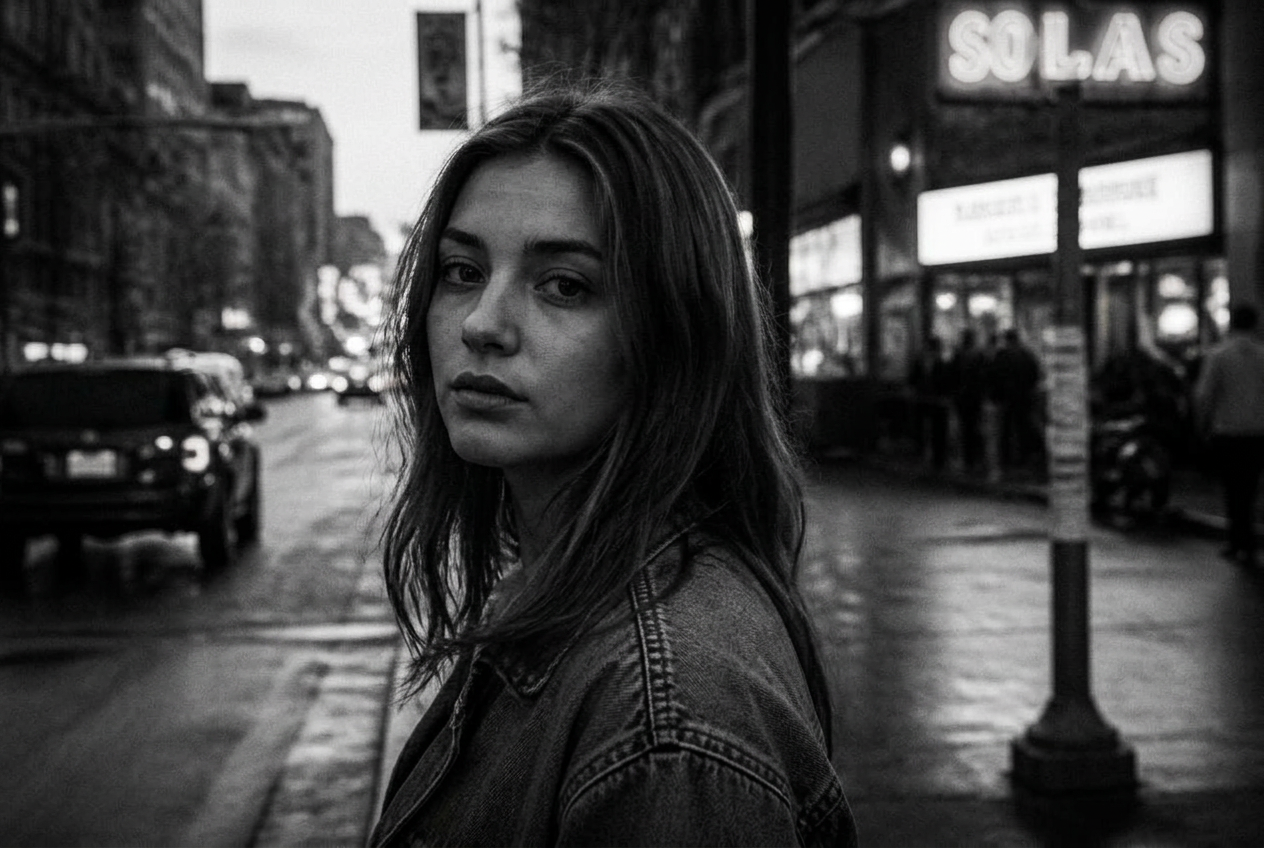
Black & white
Strong contrast monochrome
Colour removed, contrast raised. Without colour the photo lives on light, shape and expression — which is exactly why it forgives messy colour.
 Demo image
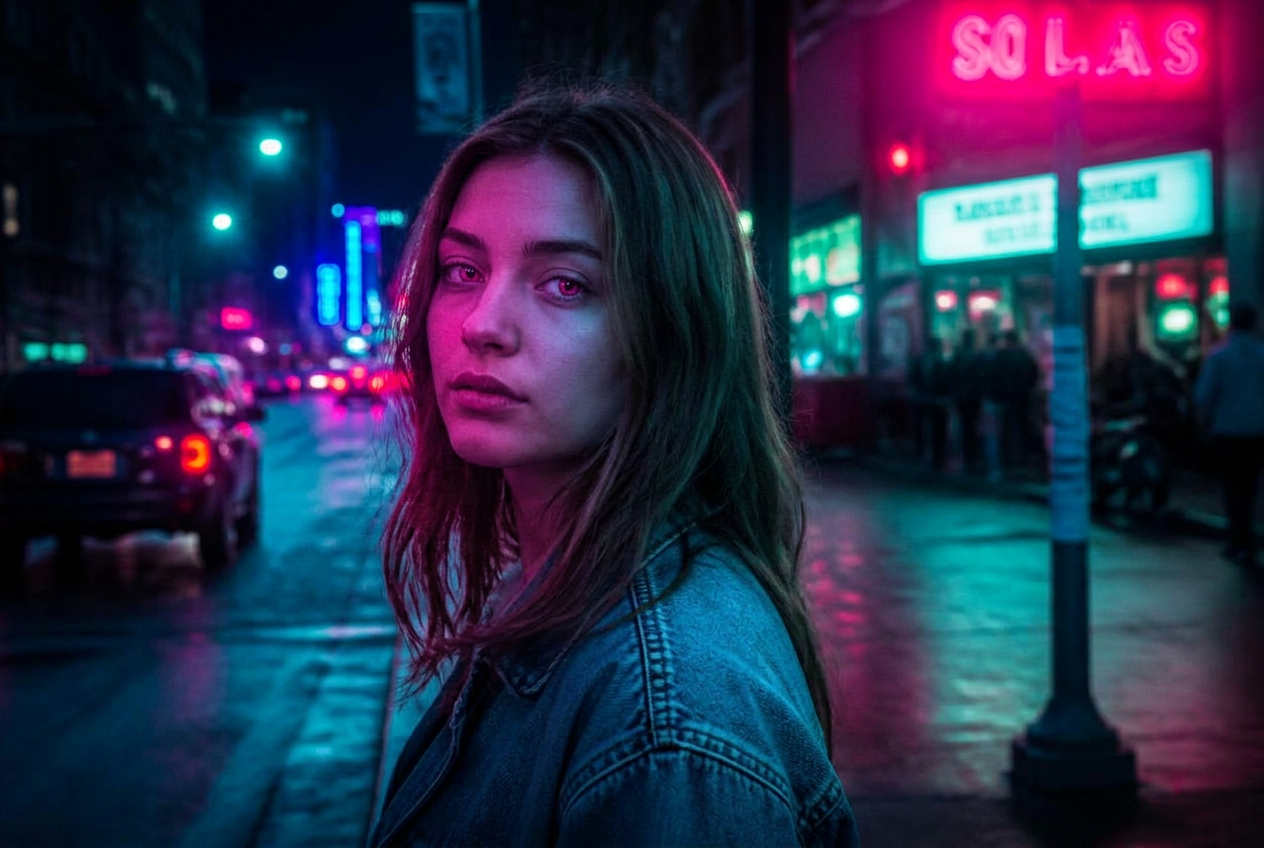
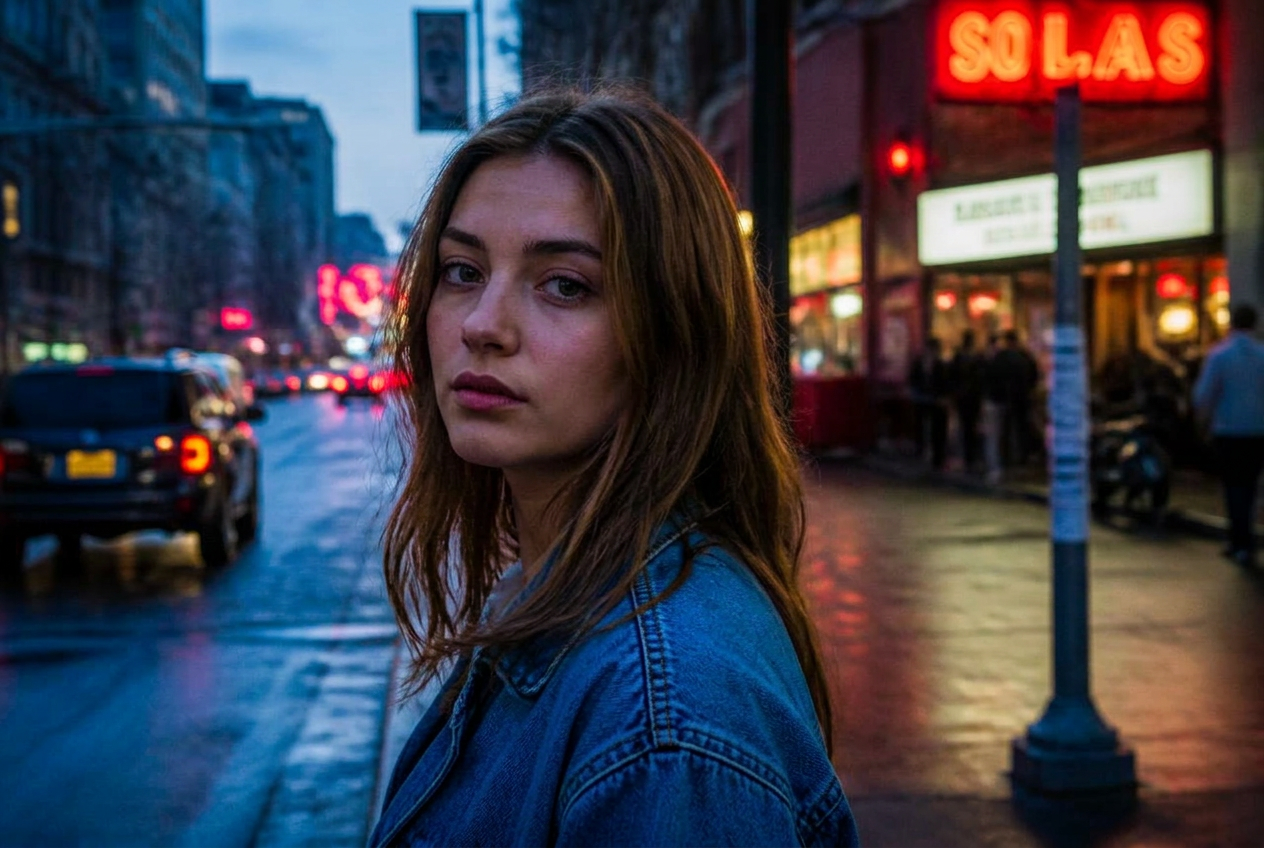
Neon night
Magenta and cyan city
Heavy magenta-and-cyan colour with deep shadows. Built for photos that already have coloured light in them — signs, bars, clubs, wet asphalt.
 Demo image
Vivid punch
Bold colour, crisp detail
High clarity, rich colour and deep blues — the loud travel-photo look. Great on landscapes and architecture, risky on faces.
How to use these presets
- 1. Download the .xmp file and put it into Lightroom: Presets panel → right click → Import.
- 2. No Lightroom? Copy the values by hand — every one of them is listed on the preset page.
- 3. Apply it, then adjust exposure and white balance for your own photo.
A preset is a starting point, not a finished edit. The same numbers look different on a different photo.